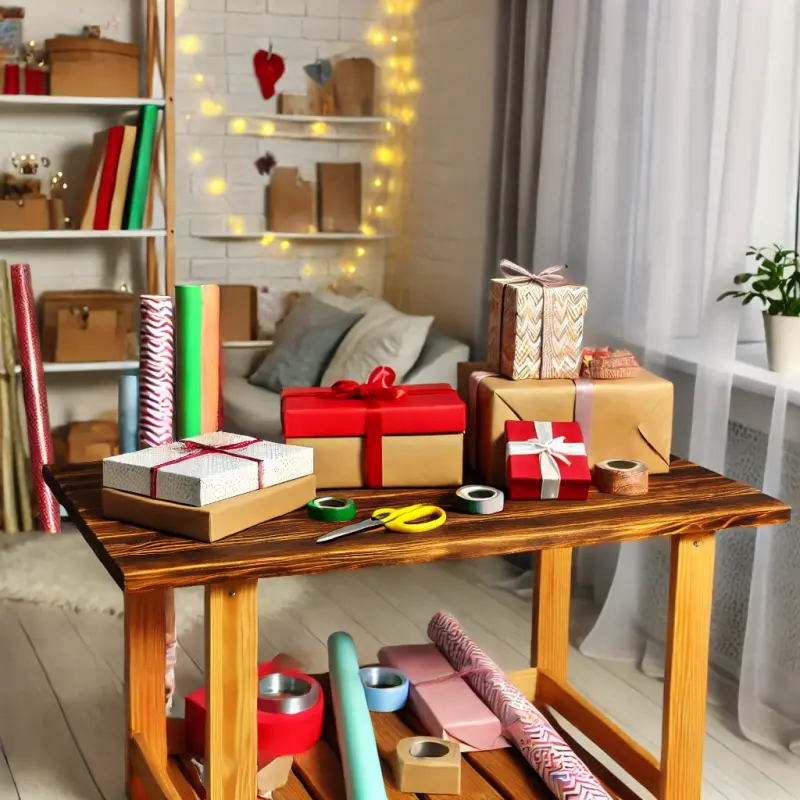
How to Create a Comfortable Gift Wrapping Space

Gift giving is a cherished tradition, especially during the holiday season, birthdays, and other special occasions. However, the joy of giving can sometimes be overshadowed by the stress of wrapping gifts. A well-organized and comfortable gift wrapping space can transform this task into an enjoyable and creative process. In this article, we will explore how to set up a convenient gift wrapping station that caters to your needs, enhances your experience, and adds a personal touch to your gifts.
1. Choosing the Right Location
The first step in creating your gift wrapping station is selecting the right location. Ideally, your workspace should be:
- Well-lit: Good lighting is crucial for detailed tasks like cutting paper and tying ribbons. Natural light is the best option, but you can also supplement with bright, adjustable lamps.
- Quiet: Find a space away from distractions. A corner of your living room, a spare room, or even a dedicated area in your basement can work well.
- Accessible: Ensure that your wrapping station is easily accessible, especially during busy times like the holidays. You want to be able to quickly grab supplies without digging through clutter.
2. Selecting the Right Furniture
The furniture you choose will greatly affect the functionality of your gift wrapping station. Here are a few suggestions:
- Table or Desk: A sturdy, spacious table or desk is essential. It should provide enough surface area for wrapping multiple gifts at once.
- Chair: If you plan to spend a significant amount of time at your wrapping station, a comfortable chair is important. Look for one with good back support.
- Shelving Units: Consider adding shelves or storage units nearby to keep your wrapping supplies organized and within reach.
3. Organizing Your Supplies
Organization is key to a successful gift wrapping experience. Here are some tips for organizing your supplies:
- Containers: Use bins or baskets to store different types of supplies. Label each container for easy identification—one for ribbons, another for tape, and so on.
- Vertical Storage: Utilize vertical space by installing wall-mounted shelves or pegboards. This allows you to hang rolls of wrapping paper, scissors, and other tools, keeping your table clutter-free.
- Drawer Organizers: If your table has drawers, use dividers to keep smaller items like gift tags, markers, and embellishments organized.
4. Stocking Up on Supplies
Having a variety of supplies on hand will make gift wrapping more efficient and enjoyable. Consider stocking:
- Wrapping Paper: Choose different colors and patterns to suit various occasions. Store them upright in a designated bin or holder to prevent wrinkling.
- Ribbons and Bows: Stock a selection of ribbons in various colors and widths, along with pre-made bows for quick embellishments.
- Gift Tags: Keep a supply of gift tags or labels. You can create your own or purchase them in bulk.
5. Creating a Cozy Atmosphere
Transform your gift wrapping station into a cozy retreat where you can enjoy the process. Here’s how:
- Decor: Add some personal touches to your space, such as festive decorations, artwork, or a bulletin board for inspiration.
- Comfort Items: Incorporate elements that make you feel comfortable. A soft blanket, a cushion for your chair, or even a scented candle can enhance the atmosphere.
- Music or Ambiance: Consider playing soft music or holiday tunes while you wrap. This can make the task more enjoyable and help you get into the spirit of giving.
6. Setting Up a Wrapping Station for Kids
If you have children, consider setting up a separate, kid-friendly wrapping station. Here are some ideas:
- Kid-Sized Table: Use a smaller table that’s appropriate for their height, allowing them to feel included in the wrapping process.
- Simple Supplies: Provide kid-safe scissors and colorful papers. Encourage creativity by allowing them to decorate their wrapping with stickers or drawings.
- Supervision: Always supervise children while they wrap gifts to ensure safety, especially when using scissors or other tools.
7. Efficiency Tips
To make your gift wrapping experience smoother, consider the following tips:
- Prep in Advance: Wrap gifts as soon as you purchase them. This will prevent last-minute stress when a holiday or occasion approaches.
- Batch Wrapping: Set aside time to wrap multiple gifts in one session. This is often more efficient than wrapping one gift at a time.
- Keep Essentials Nearby: Always have tape, scissors, and other essentials within arm’s reach. This reduces interruptions and keeps you focused on the task at hand.
8. Cleaning Up After Wrapping
Once you’ve completed your wrapping, take a few minutes to clean up your space. This includes:
- Storing Leftovers: Put away leftover wrapping paper, ribbons, and other supplies. Keeping everything organized will save you time during your next wrapping session.
- Recycling: Consider recycling any used wrapping paper and packaging materials. This helps minimize waste and is better for the environment.
- Resetting the Space: Arrange your station neatly to maintain a welcoming environment for future gift-wrapping sessions.
Conclusion
Creating a comfortable gift wrapping station not only enhances the joy of gift-giving but also makes the process more efficient and enjoyable. By selecting the right location, organizing your supplies, and personalizing your space, you can turn what might be a chore into a delightful experience. So gather your supplies, put on your favorite tunes, and get ready to create beautifully wrapped gifts that will delight your friends and family. Happy wrapping!
Articles
Subscribe to our email notifications to stay informed about the most recent and interesting articles.